

Art therapy
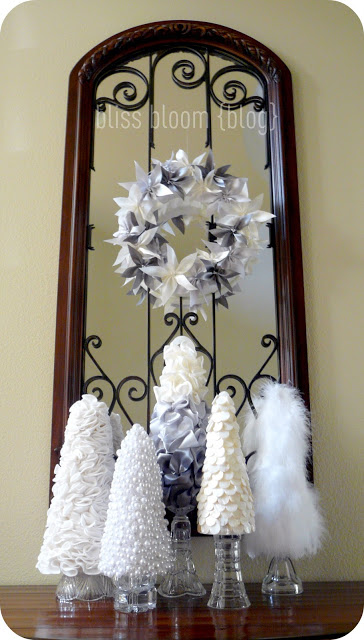
This is a quote from lorine’s post Original postThe New Year is upon us! Glamor Christmas trees with their own hands.

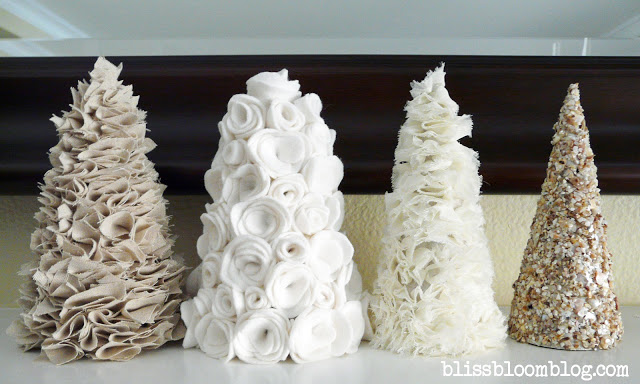
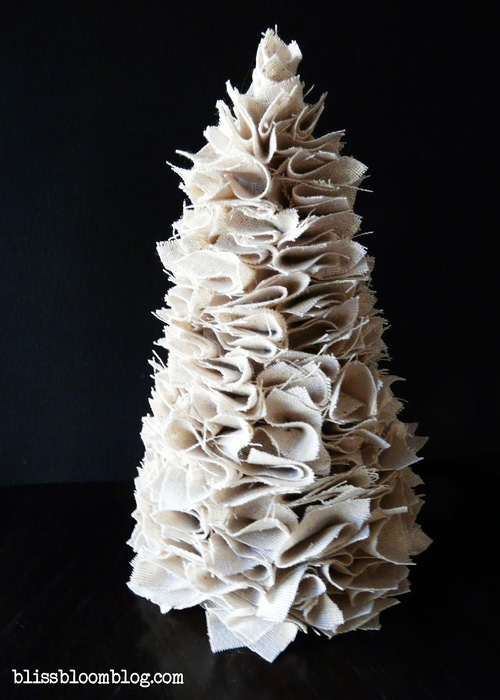
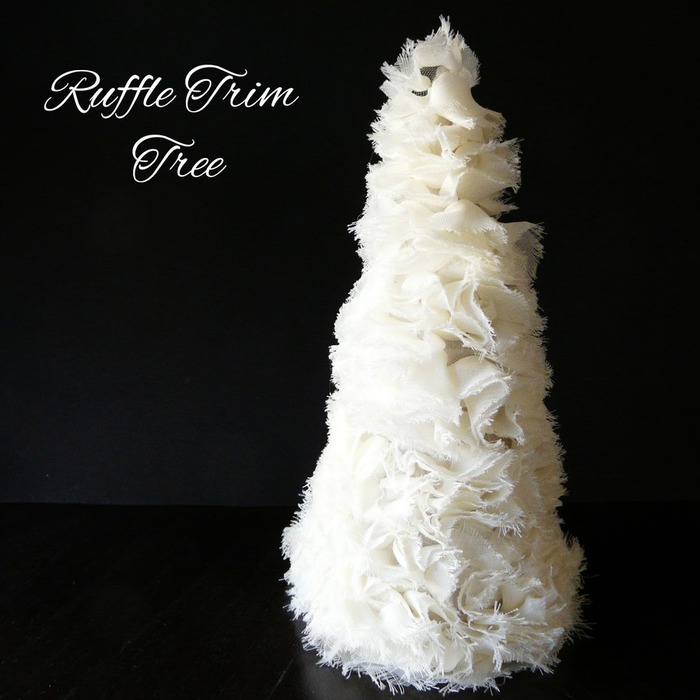
Muslin tree.
Necessary materials:
1. Cone ready (or make one from the box) about 15 cm
2. Fabric
3. Glue gun
4. Sharp scissors
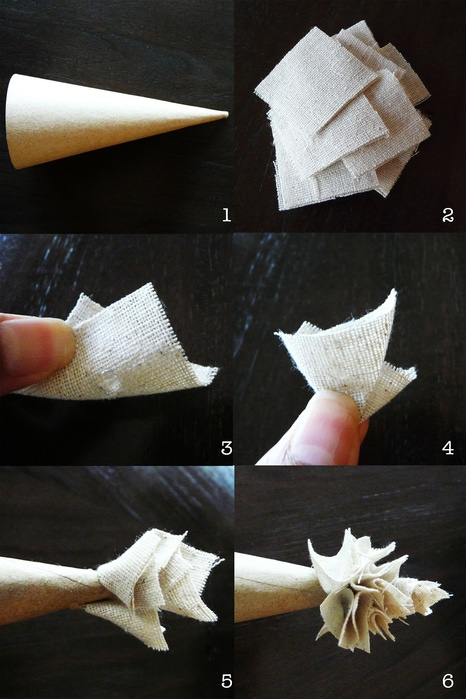
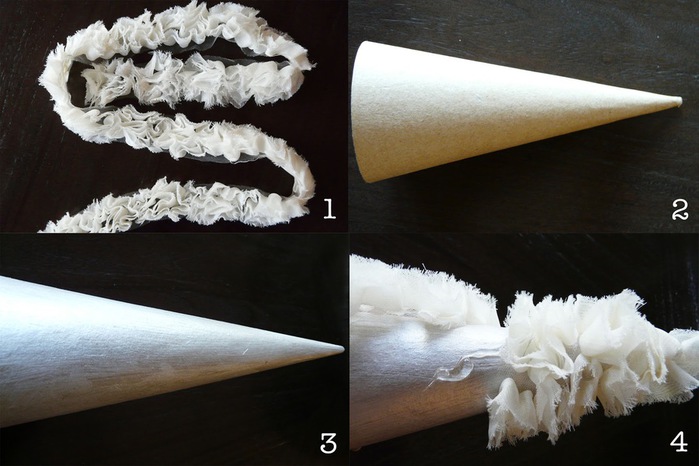
1. Prepare a cone about 15 cm in size.
2. Cut the fabric into squares with a side of 4 cm
3. Apply a small drop of hot glue to the center of the square.
4. Fold the square at an angle of 45 degrees and press (see photo).
5. Starting at the top of the cone, glue the folded fabric squares from top to bottom using hot glue. Put some glue and press the cone.
6. Continue folding and gluing until you reach the bottom of the cone.
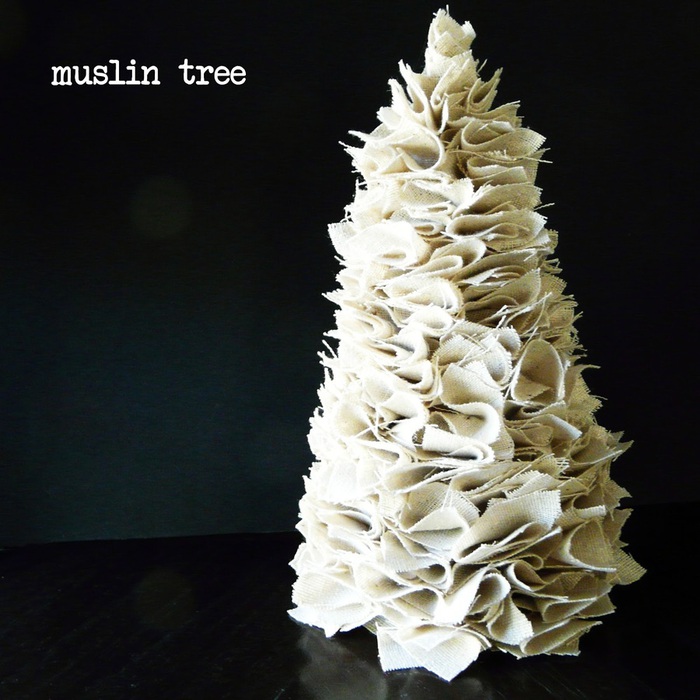
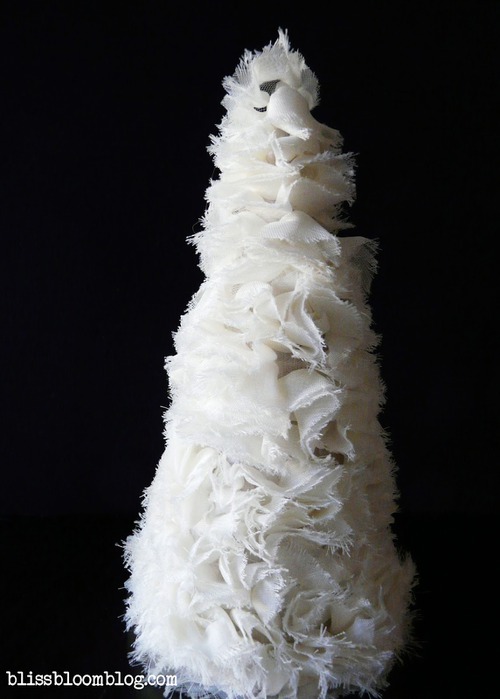
The muslin tree is ready!
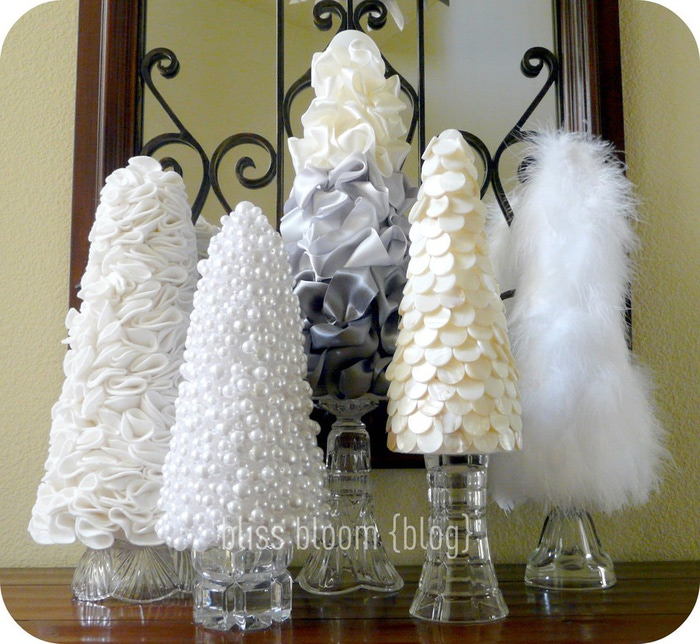
Satin tree.

Necessary materials :
1. Styrofoam cone about 30cm
2. Glue gun
3. Double Sided Satin Ribbon ~4cm:
– 9 meters (steel color), for the bottom
– 8 meters (silver) for the middle part
– 5 meters (cream) for the top

1. Divide the cone in height into 3 equal parts, 10 cm each.
2. Cover the styrofoam base with satin ribbon from top to bottom, glue with hot glue.
We cover each part with its own color.

Then the fun begins:
Starting at the base of the tree, fold and glue the tape: one end of the tape looks down, make a simple loop with the tape and glue it so that the end of the tape looks down. When changing colors, glue the ends.
We continue to glue the cone in this way.

Having traveled all the way around the circumference of the cone, we get a satin Christmas tree.
Depending on the size of the loop and the density of gluing, a more or less structured tree is obtained.
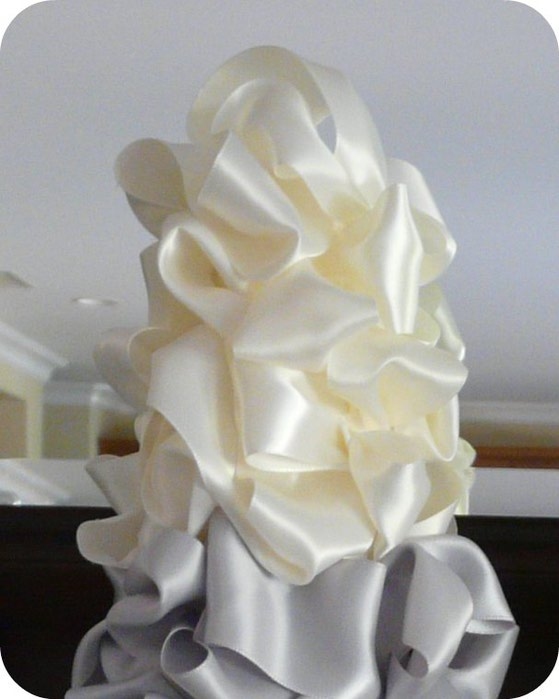
At the top of the tree, make loops to give strength and height.
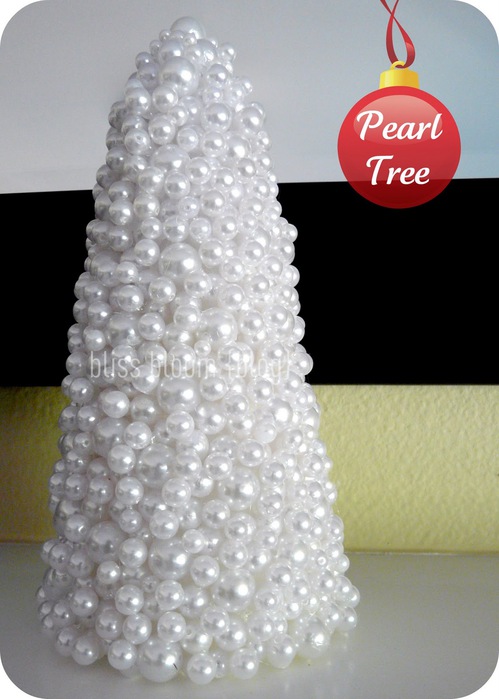
Pearl tree.
Necessary materials:
1. Styrofoam cone about 30cm
2. Glue gun
3. Pearls 16 mm 65 pieces
4. Assorted pearls 4-12 mm 500 pieces

First, glue large pearls around the cone in a chaotic manner.

Then fill the rest of the space with smaller pearls – 4mm, 8mm, 12mm
The cone has a flat top, use a 16mm pearl to decorate the top, and then form a herringbone around it.
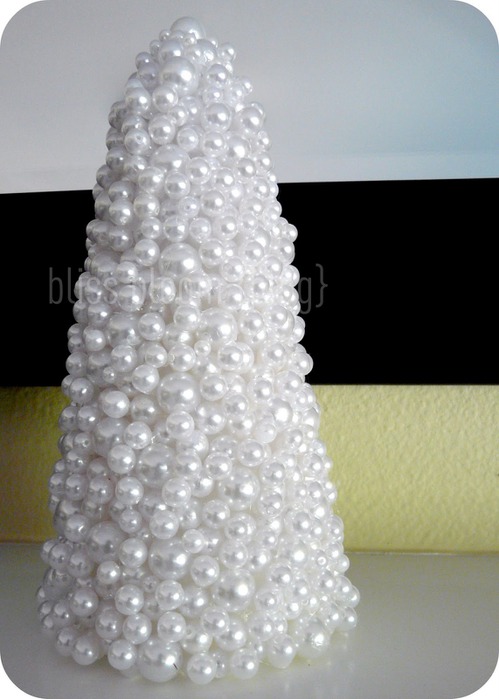
The Christmas tree is ready!
Christmas tree of roses.

Required:
1. Styrofoam cone about 15 cm (can be made from papier-mâché or made from cardboard)
2. White felt
3. Sharp scissors
4. Glue gun

1. Cut 7.5 x 22.5 cm strips from the felt. Fold three times (equivalent to three 7.5 x 7.5 squares) and cut in a spiral, starting from the outer edge.
2. For the petals, make waves in a spiral. If you want an even, circular spiral, cut off the corners to make an even circle.
3. Cut out some spirals.
4. Start creating a rose: starting from the center of the spiral and twisting the rose in a circle.
5. Prepare the required number of flowers.
6. Put some hot glue on the bottom of the rose, making sure all parts of the center are covered with glue. Let dry.
7. Do not throw out scraps of felt! Cut out small flowers from the remaining scraps.
Very interesting combination of large and small flowers on the tree.
8. Roses are ready.
9. Then the fun begins! Starting from the top, glue the prepared flowers. Thus, we paste over the entire cone.

Christmas tree of roses is ready!
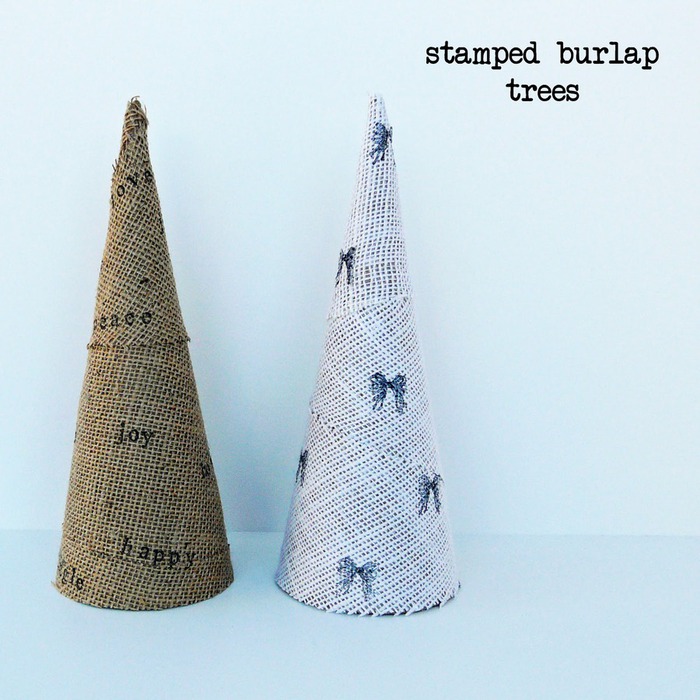
Christmas trees from burlap.
Necessary materials:
1 Burlap
2.Cone of any material
3. Scissors
4. Glue
5. Decorative stamps

1. Mark the dimensions of your cone on the fabric.
2. Put the cone on the burlap.
3. Rotate the cone, marking the trajectory of the cone with a pen on the fabric.
Note that the top of the cone remains in place. Make one full turn. Mark with a pen.
4. Mark the tip of the cone on the burlap.
5. Using a ruler, draw lines from the top to the edges, marking the dimensions of the cone on the fabric.
6. Repeat for the other side. You should have a triangular shape with a curved bottom.
7. To show some of the seams, you can cut the “triangles” twice at an angle.
8. Glue pieces of burlap to the central part of the cone and cut off the excess.
9. Cover the top and bottom of the cone. Trim each piece so that the edges fit together.
10. Burlap cover the entire cone.
Once the glue has dried, it’s time to add stamps or lettering.

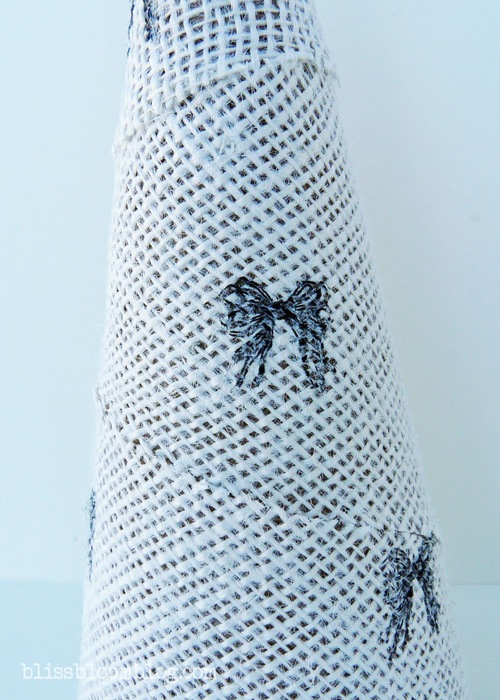
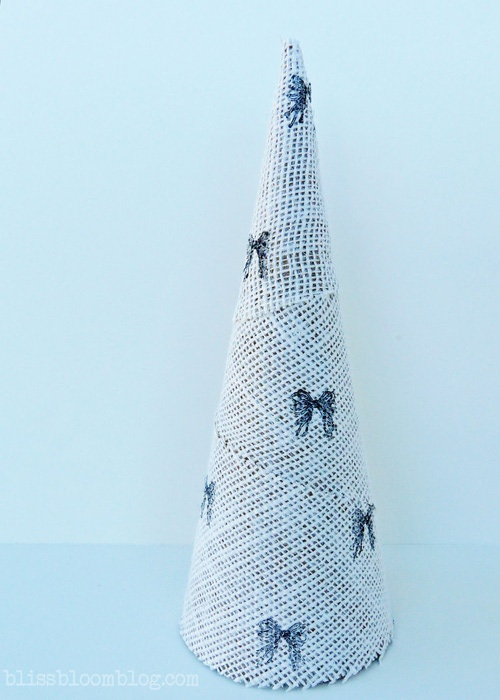
Scrapbooking stamps look very interesting with burlap.
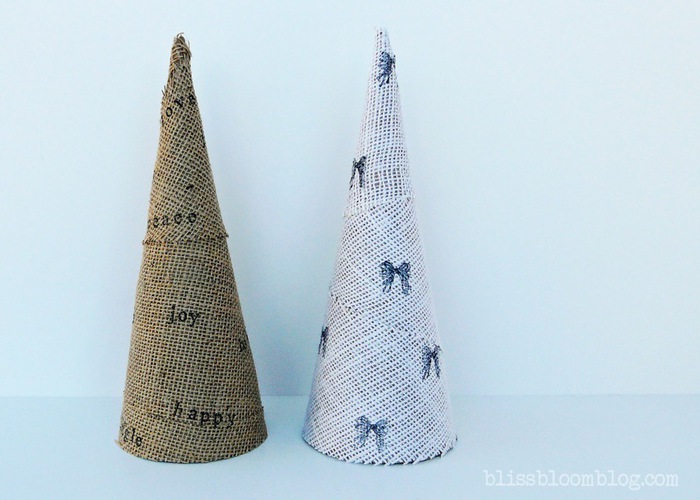
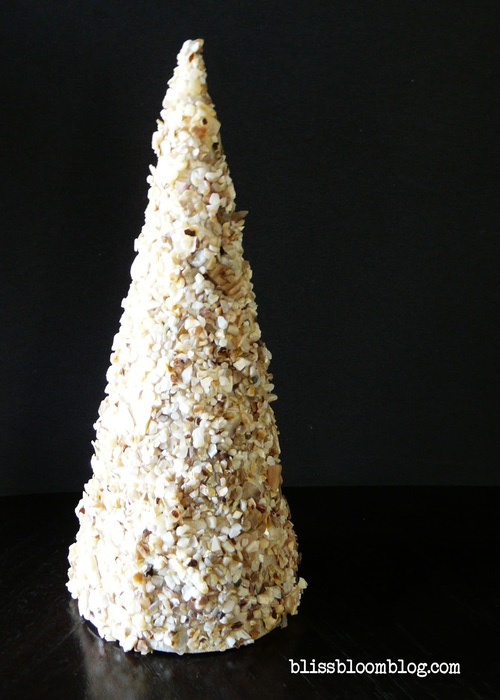
The tree is original.
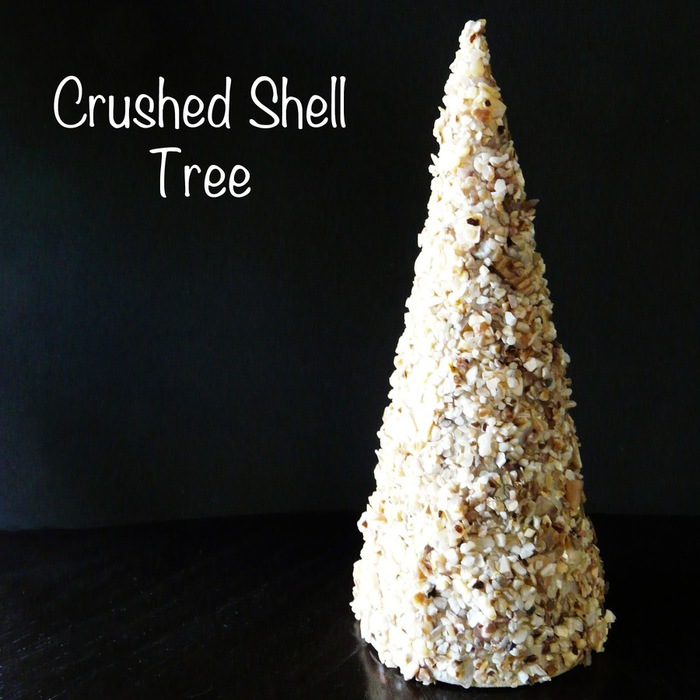
Necessary materials:
1. Cone
2. Pearl paint
3. Shredded flower vase filler (can be found in flower shops)
4. Glue
5. Sponge
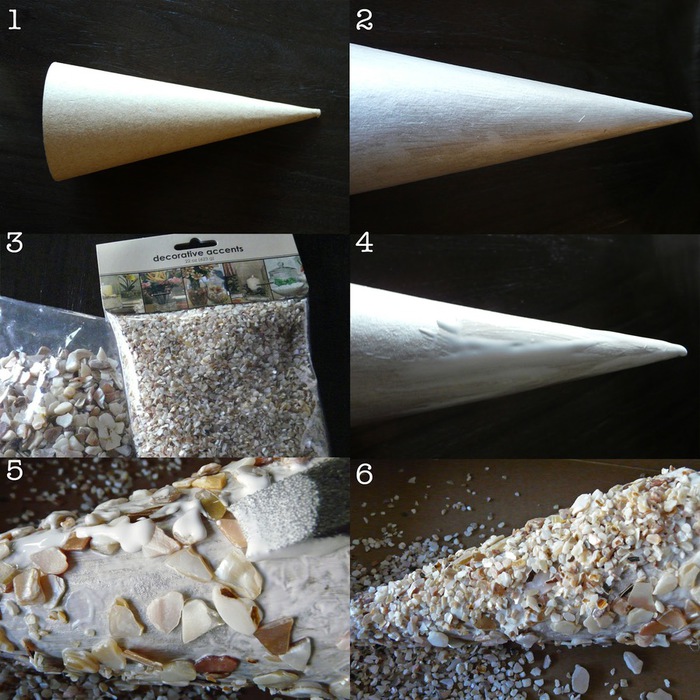
1. Paint the prepared cone with paint
2. Next, sprinkle the filler cone, evenly distributing it with a sponge and glue.
3. First sprinkle with large filler, let dry, then fine.
4. Fill in the gaps with fine filler.
5. Using a sponge, coat well with glue.
6. Let dry for 12 hours.
Mother-of-pearl tree.
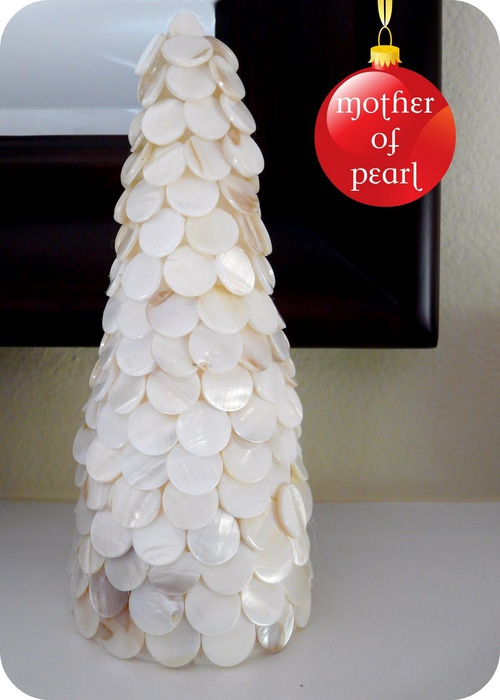
Necessary materials:
1. Styrofoam cone about 30cm
2. Glue gun
3. Bijouterie (flat and round beads)
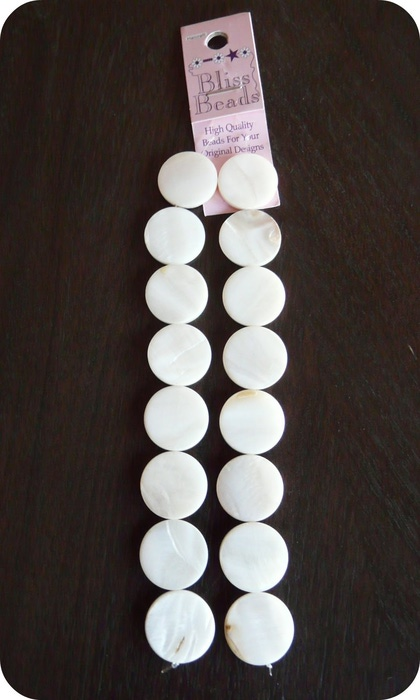
Flat beads are used in the lower part of the tree, and round beads are used at the top.
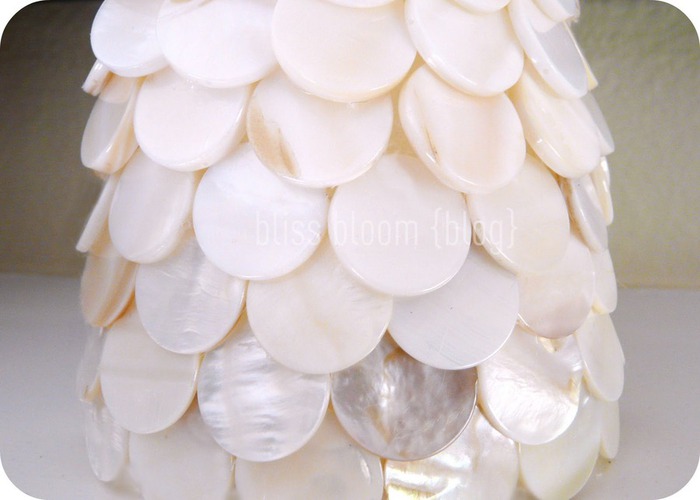
Start pasting the cone from the bottom.
Completely cover the entire surface of the cone with circles.

The top of the cone is flat. To make the pointed top of the tree, place 5 beads evenly on the very top, forming the top.
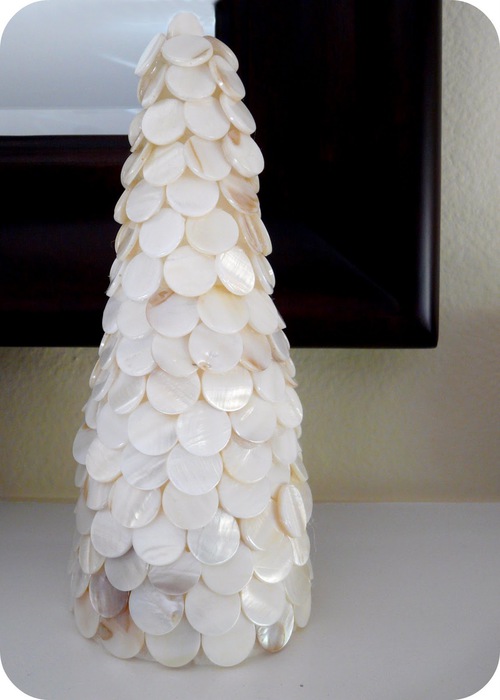
Elegant tree.
Necessary materials:
1. Cone size about 15cm
2. Braid, lace, fabric scraps.
3. Acrylic paints (pearl)
4. Glue gun.
1. Prepare the braid (lace, fabric scraps)
2. Prepare the cone, paint with the appropriate paint.
3. Starting from the top of the cone, we begin to glue the braid, pressing it tightly against the base.
4. Decorate the entire Christmas tree.
Fluffy and fun!


Felt tree.


1. Styrofoam cone about 30 cm high and 5 cm wide at the base
2. 1.25 m felt
3. Sharp scissors
4. Pins
Each circle is a circle with a diameter of 5cm
use sharp scissors to cut 2-3 circles at a time
he took 280 circles and 280 pins to cover the wood
Making a socket out of felt.
Cut out circles with a diameter of 5 cm from felt using a template.
Fold them in half twice in the shape of a rosette. Insert a pin (single-rod) into the lower corner of the socket, at a distance of 3-5 mm from the corner.
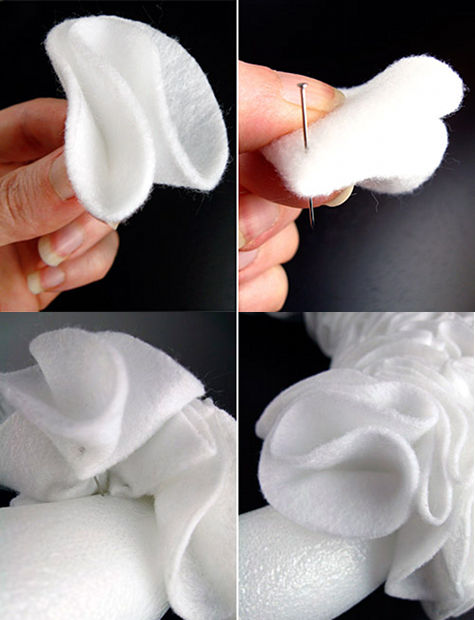
Installing an outlet.
Attach the sockets to the cone, making sure they are grouped tightly enough that the Styrofoam is not visible through the sockets.

The tree is ready!
Articles on the history, fundamentals, applications, and various forms of art therapy can be found here.
Only the best offers, interesting company news, useful innovations and no spam!